Lora The ZX-9R 💞 | Bearing Nightmares | 1998 ZX-9R Rear Wheel and Sprocket Carrier Bearing Change
This week’s adventure involved a long and exhausting hike across to the garage. The journey was about 30 feet, the terrain was flat as pancakes and somehow I survived to tell the tale.
It had actually been a fairly busy week away from Lora. As well as my normal client work, the gales had destroyed the whole run of fencing, the garden was rapidly disappearing beneath weeds and I’d had what looked like a major water leak from the cold feed. Scottish Water came out to investigate and thankfully discovered it wasn’t mine after all, although unfortunately it belonged to my 82-year-old neighbour instead. I helped her as much as I could and hopefully it would all be sorted quickly, but eventually I found some time to get back into the garage and deal with Lora.
This time it was her rear wheel bearings. I already knew one was completely shot, and if I was taking everything apart anyway it made sense to replace the lot.
Safely on the Stand
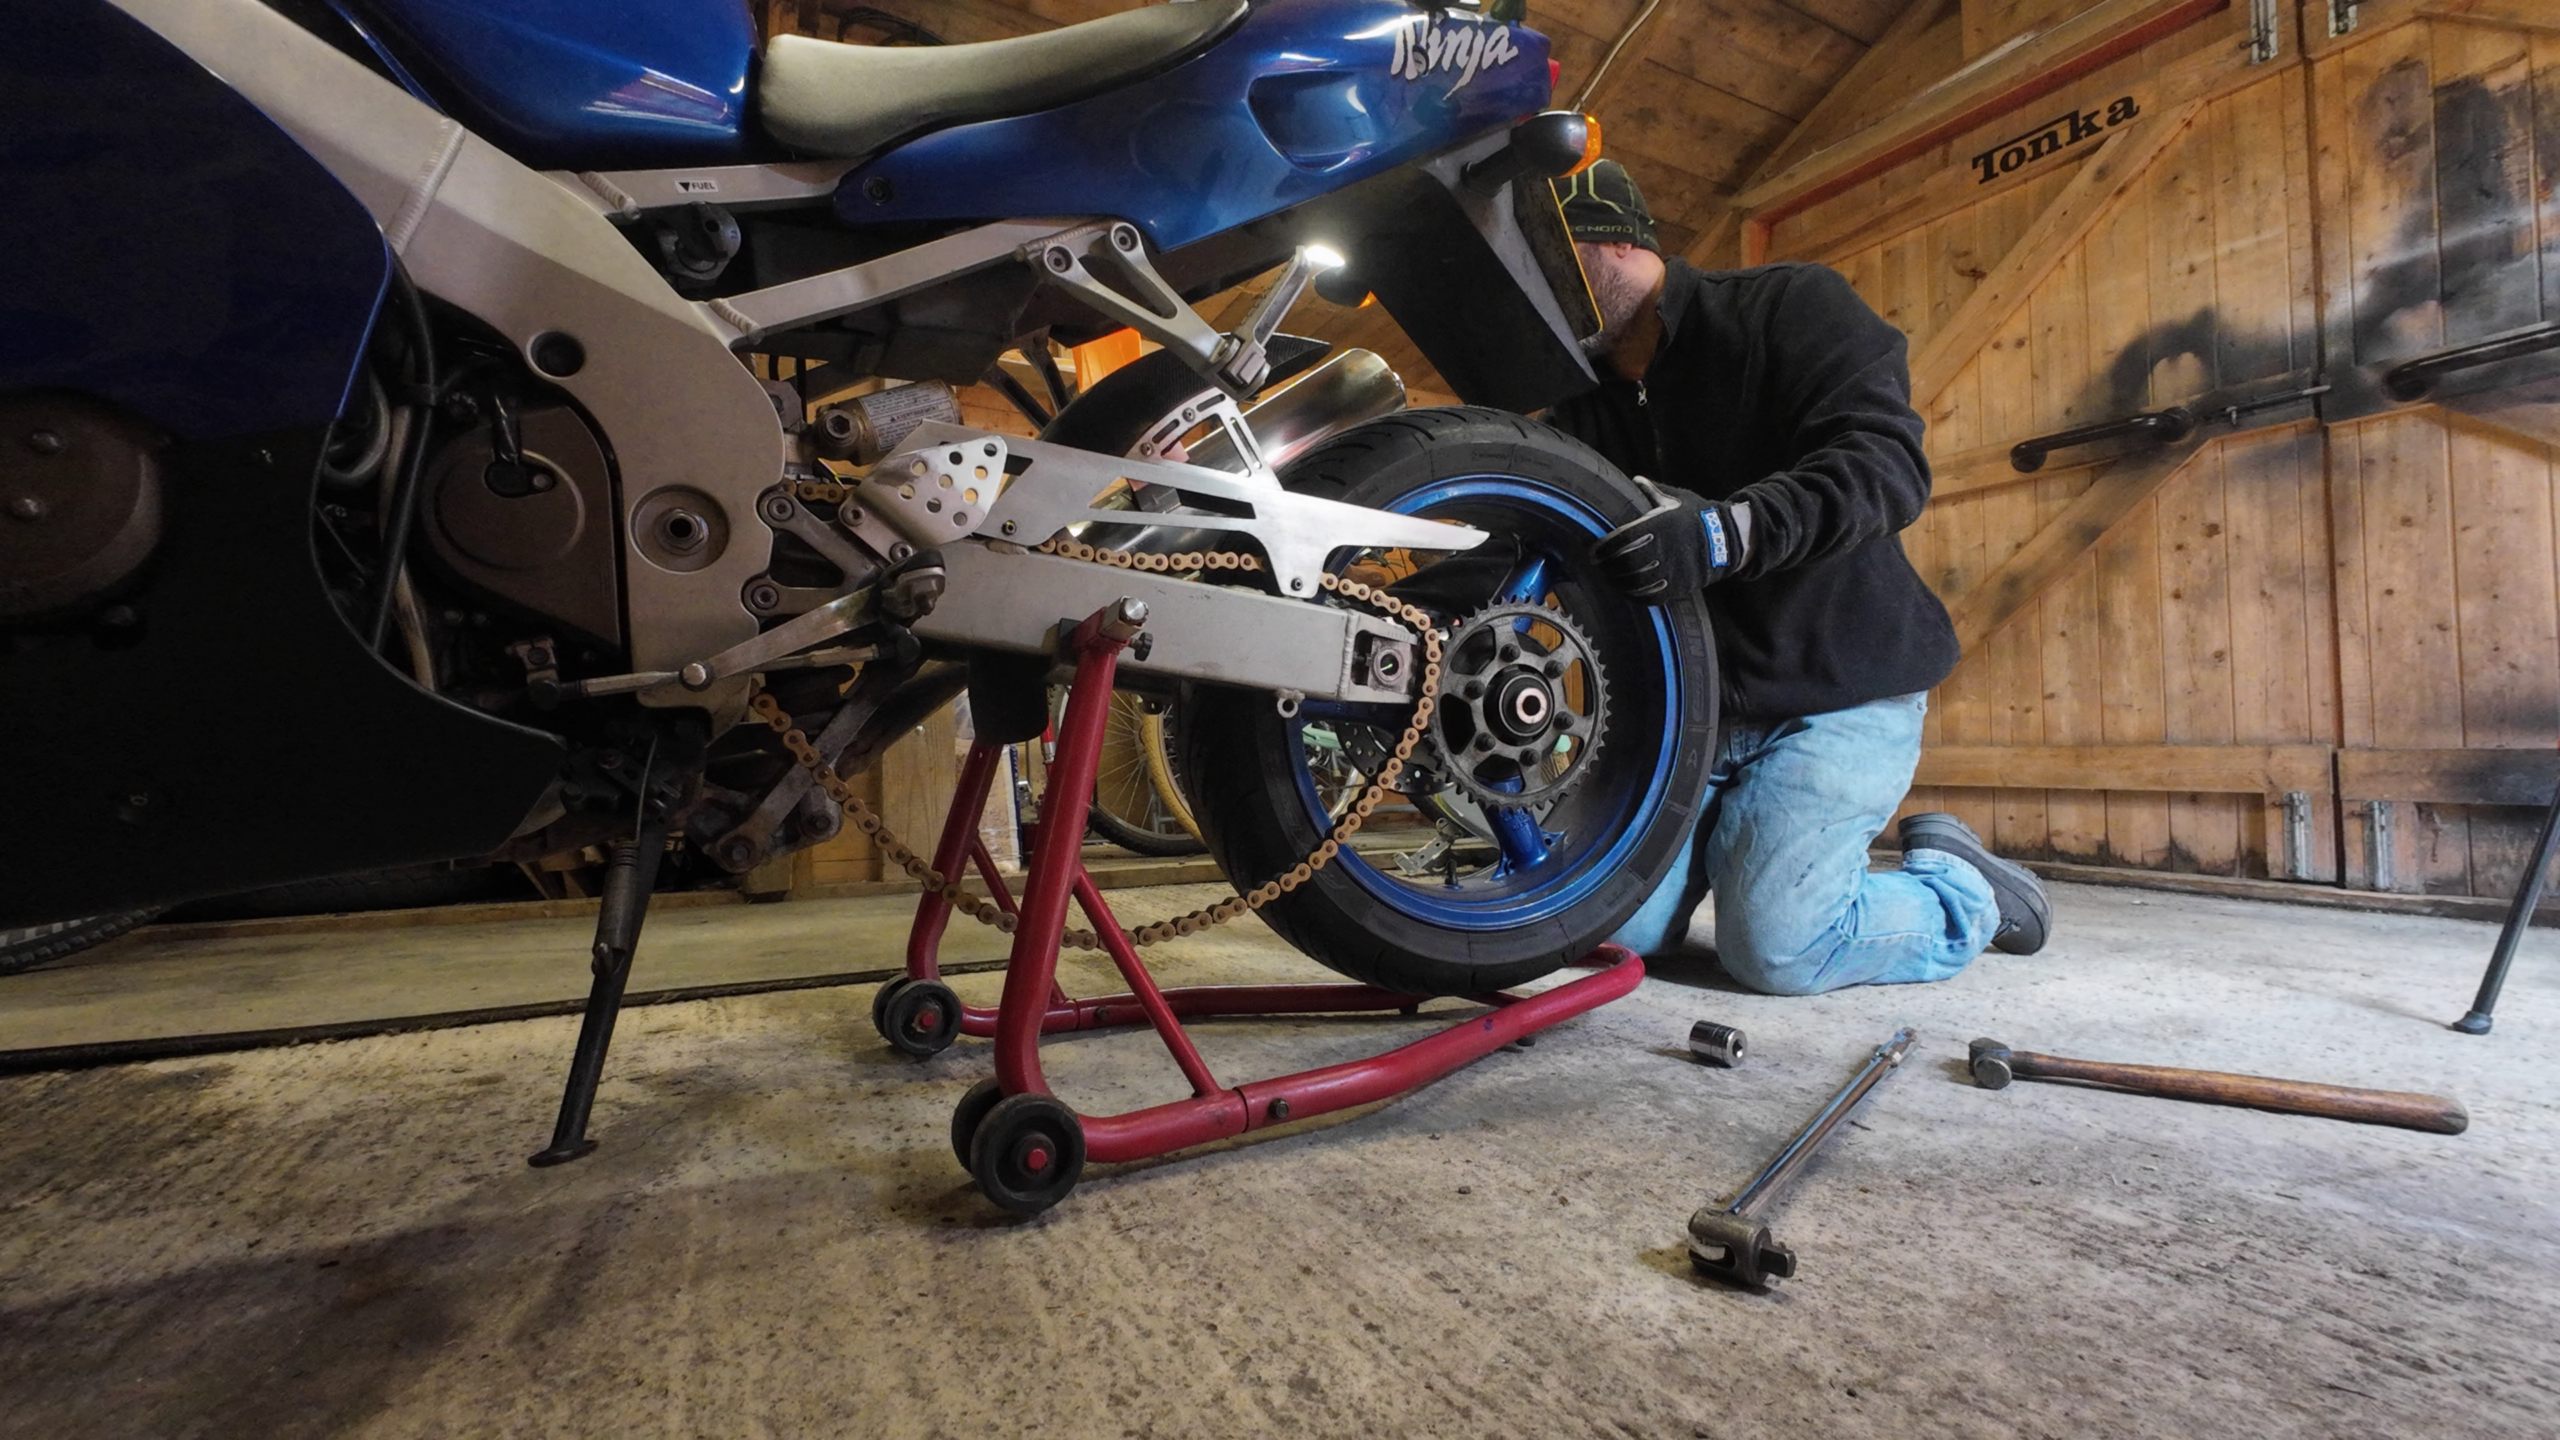
First job was getting the rear wheel off, which naturally meant beginning with one of those apparently simple jobs that always turns into a fight: removing a split pin. I don’t know why split pins are always such a bitch to remove, but eventually it surrendered and I could get Lora safely onto the stand and remove the wheel.
I’d originally thought about making this a short 15 or 20-minute video, but decided instead to show most of the job more or less as it happened. That gives a much better idea of how long these things actually take when you’re working at home, minus the important breaks for tea and the considerable amount of time spent wandering around asking myself where I’d put a tool I’d been holding five minutes earlier.
The replacement bearing kit came from Wemoto and cost £26.03. For removal I’d taken another punt on a £39.89 bearing extraction kit from Scamazon. Most of my tools are relatively inexpensive Amazon or eBay jobs and, to be fair, many of them have worked perfectly well for years. I’m not particularly interested in the name stamped on a tool as long as it actually does what I bought it to do. Quality on inexpensive tools has improved enormously over the years too, so for an occasional home mechanic they can make a lot of sense.
Looking at this particular kit for the first time, however, I did wonder whether it might be made of plasticine. There was only one way to find out. Cup of tea first, obviously. Very important.
The First Bearing
After finding the circlip, I then had to find the circlip pliers. This pretty much established the pattern for the rest of the day. Eventually I assembled the puller, worked out which size I needed and started trying to remove the first bearing. It wasn’t particularly enthusiastic about leaving.
I tried more force, penetrating fluid and eventually some heat. The wheel is alloy, which I’d momentarily forgotten, so warming the area around the bearing helped expand it slightly. Eventually the first bearing came out. It wasn’t actually in terrible condition, but I already knew the bearing on the opposite side was another matter entirely.
That one did not want to move at all. The awkward part was that I couldn’t easily drive it out from the opposite side because I couldn’t get properly onto the outer race. I could reach the inner race, but hammering against that isn’t exactly the method you want to use when everything is cooperating normally. Everything was not cooperating normally.
After soaking it, heating it and trying the puller, I eventually decided I didn’t have much to lose by carefully tapping it from the other side. Slowly it began to move, and eventually out it came. Looking at the state of it explained why it had been such a fight. There was water and rust inside and the bearing was completely finished. At least the birds outside appeared to be enjoying themselves. I’m fairly sure they were mocking me.
The Sprocket Carrier
Next came the sprocket carrier bearing, which meant removing the new aftermarket JT sprocket I’d fitted previously. That sprocket had introduced another problem because it wasn’t properly concentric. As the wheel rotated, the chain tension changed with it, which obviously wasn’t something I was particularly happy about.
I still had Lora’s original Kawasaki sprocket and the teeth remained in perfectly usable condition with no hooking, so I decided to put it back on. The OEM sprocket is heavier and more robust than the aftermarket one, but most importantly it is actually round. Or, to use the slightly more technically correct description I eventually remembered, concentric. 😂
The carrier bearing put up another substantial fight. More heat eventually persuaded it to move and, with a rather satisfying release, it finally came out. By then the carrier was warm enough to make quite a nice radiator in the nine-degree garage, although apparently not warm enough for me to stop touching it and then being surprised that it was still bloody hot. Eventually all three old bearings were out. That felt like progress.
Now Put Them All Back In
Removing bearings is only half the entertainment, of course. You then have to get the new ones back in without damaging them or driving them in crooked.
I already owned a car bearing insertion kit, so I started experimenting with the various plates to see what would fit. The sprocket carrier bearing went in reasonably well using the kit. Once it was fully seated, the circlip fitted correctly into its groove, which is always a reassuring indication that you’ve put everything where Kawasaki intended it to be.
The wheel bearings required rather more improvisation. The threaded stud in the kit wasn’t long enough for what I wanted to do, and I didn’t have a socket that was exactly the correct diameter. After rummaging through the collection of things I’ve accumulated over the years, I discovered that one of the discs from a brake-caliper wind-back tool was about three-quarters of a millimetre smaller than the bearing. Close enough.
I used that as a drift with a socket behind it, heated the wheel slightly and gently started the bearing into the bore. Once it was sitting squarely, I could work against the outer race and gradually drive it home. At one point a bit fell off my hammer, which seemed entirely appropriate considering how the day was going.
The important thing when installing bearings this way is not to drive against the inner race when you’re pressing the outer race into the wheel. Once the bearing was seated, the circlip went into its groove properly and I knew it was where it needed to be.
Don’t Forget the Spacer
Before fitting the bearing on the other side, the internal spacer tube has to go back into the wheel. This is particularly important on Lora because one side is effectively a through bore without the same locating step. Forget the spacer and it would be possible to drive the bearing farther into the wheel than it should go.
I’d cleaned the spacer tube up because it still had paint on it from when I’d previously done the wheels. Once everything was assembled, the alignment looked spot on and both new wheel bearings were finally in place. That was the main problem solved.
Back to the Kawasaki Sprocket
I gave the original Kawasaki sprocket a good clean with WD-40, which I tend to think is rather better as a cleaner than it is as either a lubricant or penetrating fluid. It wasn’t as shiny as the newer aftermarket sprocket, but at least it was round, and that seemed a fairly useful property for something that spends its life rotating.
According to the Kawasaki information I was using, the rear sprocket nuts are tightened to 54 ft-lb, or 74 Nm, so the original sprocket went back onto the freshly rebuilt carrier and was torqued down.
I used the official Kawasaki USA ZX-9R C1 microfiche throughout the job to check the order and orientation of components. There can be differences between US and European models, but for things such as bearings, spacers, bolts and much of the mechanical assembly it is an extremely useful reference.
Oil Seals and Cush Drive
With the bearings and sprocket sorted, I could move onto the oil seals, spacers and cush-drive rubbers. The little bobbles on the cush rubbers face outwards towards the sprocket according to the Kawasaki microfiche, while the bearing spacer through the carrier has the short tapered section on one side and the longer section passing through the bearing.
One of the replacement seals wasn’t sitting as nicely as I wanted, whereas the original Kawasaki seal was still perfectly serviceable and fitted properly, so I reused the OEM one. Sometimes new doesn’t automatically mean better, which was becoming something of a theme with this job.
Once the seals, cush drive and spacers were all correctly seated, the rear wheel was ready to go back onto Lora.
Back Together
Reassembly meant working through the axle components in the correct order, making sure both external spacers were facing the right way and checking that the rear brake caliper was properly located on its guide. With the axle back through and everything sitting where it should, I spun the wheel. It sounded considerably better.
That horrible bearing noise had gone, the wheel was running on three fresh bearings and the original Kawasaki sprocket was back where it belonged. After spending most of the day heating, pulling, hammering, improvising and hunting for tools, that little moment was rather satisfying. There was, however, one more job waiting for me.
I found the chain joining link and had a look at it. That would need replacing too, but I was still waiting for the new genuine DID link to arrive. Rather than turn an already long video into an even longer one, I decided that could become the next job.
As it turned out, replacing one little chain link would become an adventure all of its own. 🌚😂
Cheap Tools and DIY Mechanics
One of the things I wanted to find out with this job was whether an inexpensive bearing removal kit could actually do the work. For the home mechanic, I’m not convinced everything needs to have an expensive professional name stamped on the side. A tool that gets used every day in a workshop is one thing; something I might use once every few years is another.
The cheap bearing kit did ultimately help me get the job done, although there was plenty of improvisation along the way. Between that, the car bearing insertion kit, sockets, bits from a brake wind-back tool, heat and the occasional application of a hammer, Lora ended the day with her rear wheel properly rebuilt.
Ironically, the very next job would demonstrate the other side of that argument rather well. Sometimes a cheap tool is perfectly adequate, and sometimes you really should have used the proper bloody tool in the first place. 😆
Adventure Details
Location: A Galloway garage in Scotland
Motorcycle: Lora, 1998 Kawasaki ZX-9R C1
Route: A kitchen in Dalmellington to the garage
Date filmed: 23 May 2026
Published: 29 May 2026
Distance: 60 feet
Ascent: 5 ft
Descent: 5 ft
Highest point: 580 ft
Lowest point: 575 ft
Total ride time: 0.00 hours
Total time out: 12.00 hours
Difficulty: Bearing nightmares
Total cost: £79.91
Items forgotten: Everything. Tools, tea and phone, resulting in numerous journeys backwards and forwards between the house and garage. 🌚😂
The parts and tools bought for the job included the £26.03 Wemoto bearing renewal kit, a £39.89 bearing removal tool and a £13.99 chain breaker for the following chain-link job. I already owned the car bearing insertion kit.
Filmed on my DJI Action 4 at 4K25fps, Wide Angle with Rocksteady on, and edited in Premiere Pro 2024.
After a 60-foot round trip, five feet of ascent and approximately 12 hours out, I think this may have been one of XploraLora’s more technically demanding expeditions. 💞
Leave a Comment